「RawTherapee Portable」は、GIMP のように画像加工ができるソフトウェアで、クロスプラットフォームでも利用できるからWindows でもLinux でも利用できる。
RAW現像ソフトといえば有料が多い中、無料で高機能なRaw therapeeというフリーソフトを発見 編集項目はかなり多くてアンシャープなど様々な処理も用意されています Photoshop・GIMPなどの画像加工としての関連付けも出来るようで 無料ソフトでかなり高機能なタグを組めそうです(「高機能RAW現像ソフトRaw therapee 細かく設定でき標準で日本語に対応 Windows7 64bit版も対応|PCあれこれ探索」より引用)
試用した感想としては、画像加工が簡単に選択でき、各プロパティの設定も容易だと感じた。Photoshop やIllustrator がデファクト・スタンダードだとすれば、これと同じように再現されているのがGIMP で、さらに機能を使いやすくしたのがRawTherapee かなとも感じた。そこまで使い込んでいないので、本当の素晴らしさは未だ知らない。
デモザイキングアルゴリズムとして、 AMaZE, DCB, fast, AHD, EAHD, HPHD, VNG4 が使えるらしい バーション3.0 からライセンスがGPLになり、ソースコードが公開された。(「RawTherapee – フリーなRAW現像ソフトのまとめ」より引用)
ダウンロード
「RawTherapee Portable | PortableApps.com – Portable software for USB, portable and cloud drives」から「RawTherapeePortable_4.0.9.15_Rev_2.paf.exe」をダウンロードする。
スポンサードリンク
※Windows7 SP1 64bit で試用した
「PortableApps.com Platform」を使う方法もオススメします。
ファイルの展開
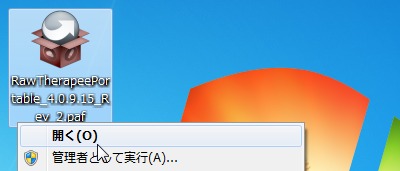
ダウンロードした「RawTherapeePortable_4.0.9.15_Rev_2.paf.exe」を実行してファイルの解凍を開始する。
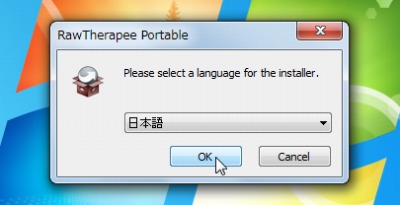
「日本語」を選択してOKをクリックする。
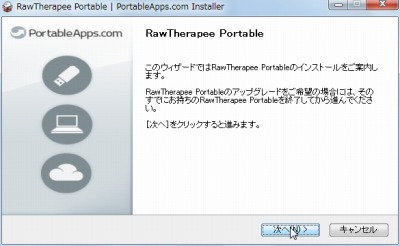
「次へ」をクリックする。
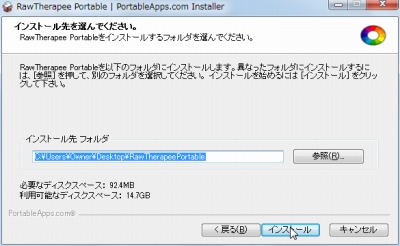
ファイルの解凍先を指定して、「インストール」をクリックする。
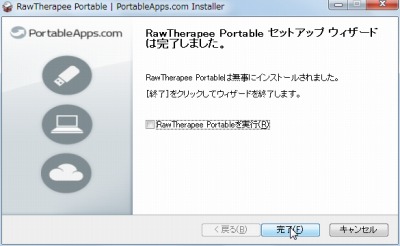
「完了」をクリックする。
使い方
起動のしかた
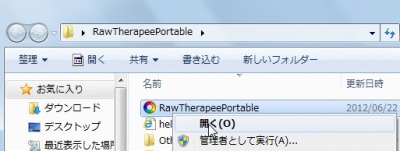
「RawTherapeePortable.exe」を実行する。
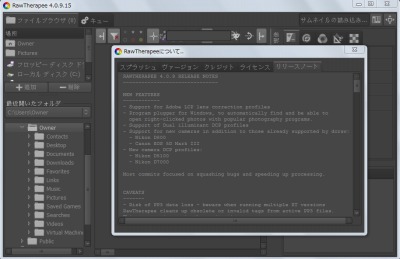
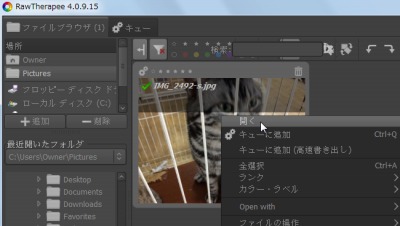
起動したところ。
使ってみた
ファイルを開いてみた。
加工例
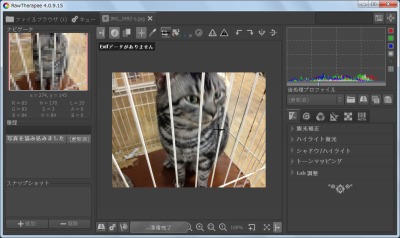
これが作業前。
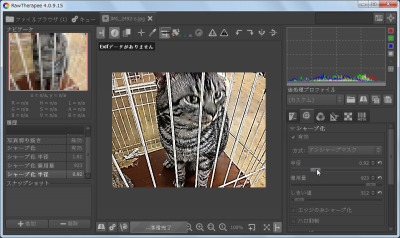
こちらが作業後。
機能リストが右ペインに表示されているから選択していき、それぞれのプロパティを設定した。多くのソフトウェアよりも使い方が簡単に感じたが、おそらく更に深い使い方や機能もあるのだろう。
スポンサードリンク
コメント